News
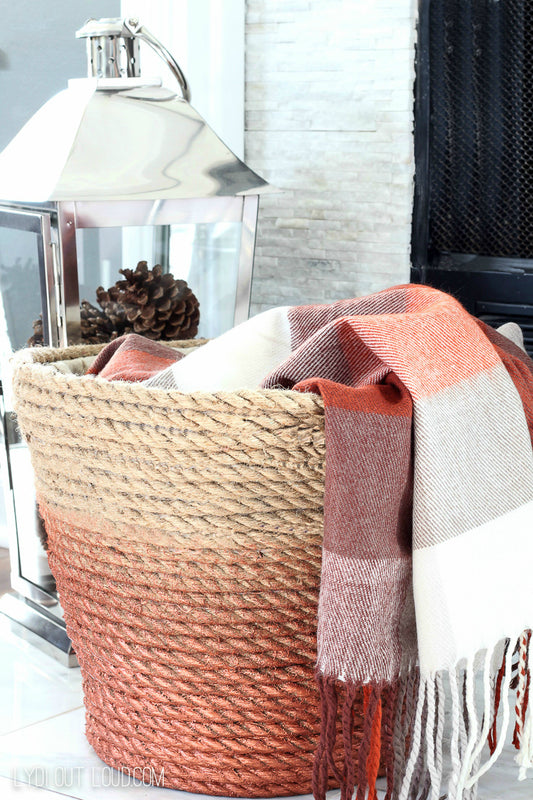
DIY Metallic Rope Throw Basket
Found This At Lydi Out Loud Materials Round laundry basket 1 jar Americana Decor Metallics in Copper About 50 feet of ½” Jute rope 1 yard felt, fleece or muslin...
DIY Metallic Rope Throw Basket
Found This At Lydi Out Loud Materials Round laundry basket 1 jar Americana Decor Metallics in Copper About 50 feet of ½” Jute rope 1 yard felt, fleece or muslin...
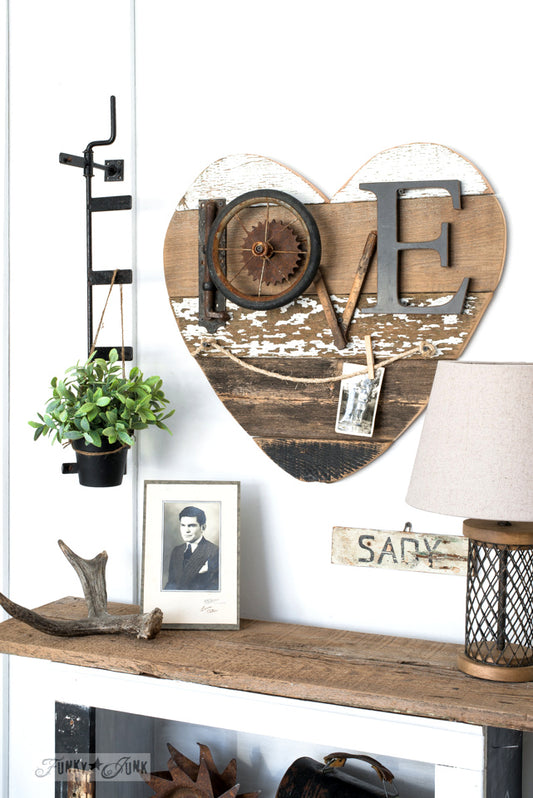
Reclaimed Wood Salvage Junk Heart
Found This At Funky Junk Interiors Materials random reclaimed wood planks paper, pencil, scissors jig saw & miter saw workmate work bench clamps cordless drill, bits and screws twine random rusty junk...
Reclaimed Wood Salvage Junk Heart
Found This At Funky Junk Interiors Materials random reclaimed wood planks paper, pencil, scissors jig saw & miter saw workmate work bench clamps cordless drill, bits and screws twine random rusty junk...
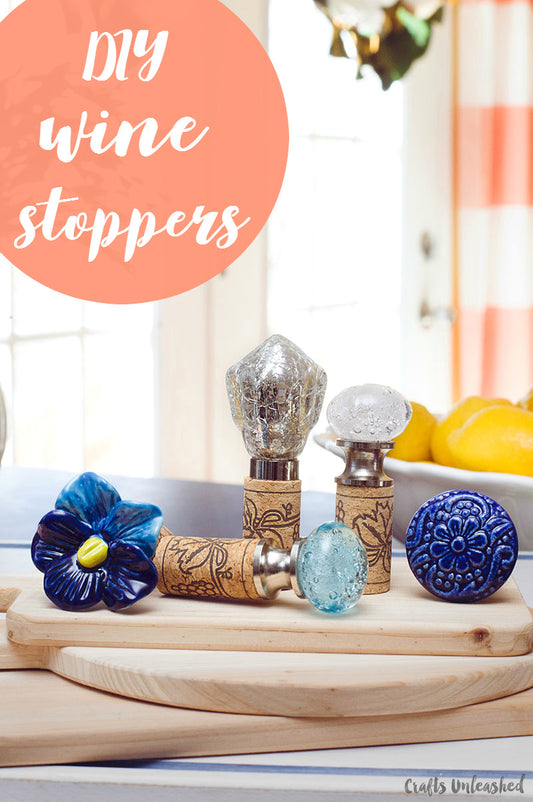
DIY Wine Cork Stoppers
Found This At Consumer Craft Materials Decorative Knobs Wine Corks Power Drill Small Drill Bit Directions round up all the supplies for this craft pull out drill for...
DIY Wine Cork Stoppers
Found This At Consumer Craft Materials Decorative Knobs Wine Corks Power Drill Small Drill Bit Directions round up all the supplies for this craft pull out drill for...
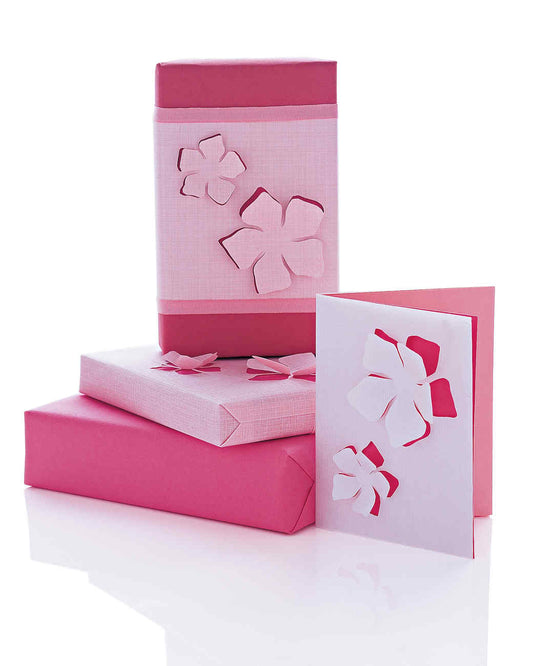
Floral Cutout Wrap And Cards
Found This At Martha Stewart Materials Flower Template Scissors Pencil Craft knife Colored paper or colored cutout card Double-sided tape Directions Download the template and cut it out....
Floral Cutout Wrap And Cards
Found This At Martha Stewart Materials Flower Template Scissors Pencil Craft knife Colored paper or colored cutout card Double-sided tape Directions Download the template and cut it out....
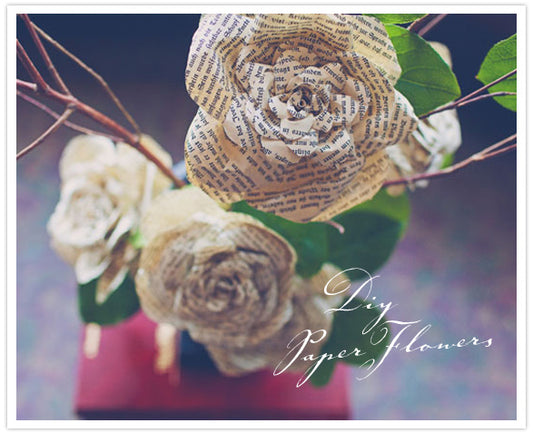
DIY Storybook Paper Roses
Found This At 100 Layer Cake Materials Paper Grosgrain Ribbon, ½ Width cut to 4 inch lengths 16 Gauge Wire cut to 15 inch lengths Glue Gun Glue...
DIY Storybook Paper Roses
Found This At 100 Layer Cake Materials Paper Grosgrain Ribbon, ½ Width cut to 4 inch lengths 16 Gauge Wire cut to 15 inch lengths Glue Gun Glue...