News
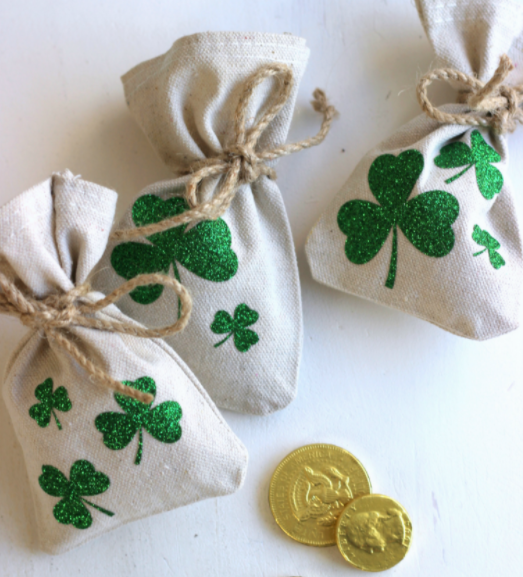
Shamrock Coin Bags
Found this on Ribbons and Glue. Supplies Used to make Lucky Shamrock Coin Bags: Silhouette Cameo Glitter Green Heat Transfer Material Three Leaf Clover Design Canvas Bags I...
Shamrock Coin Bags
Found this on Ribbons and Glue. Supplies Used to make Lucky Shamrock Coin Bags: Silhouette Cameo Glitter Green Heat Transfer Material Three Leaf Clover Design Canvas Bags I...
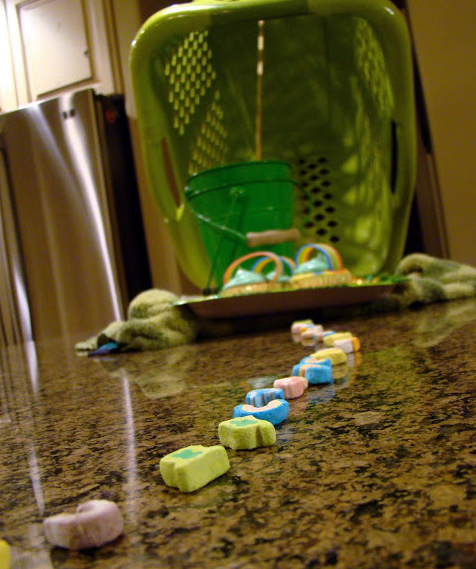
How to Catch a Leprechaun
Today's Blog post isn't so much a craft but a fun way to celebrate St. Patrick's day with your children. I found this excellent and fun way to Celebrate...
How to Catch a Leprechaun
Today's Blog post isn't so much a craft but a fun way to celebrate St. Patrick's day with your children. I found this excellent and fun way to Celebrate...
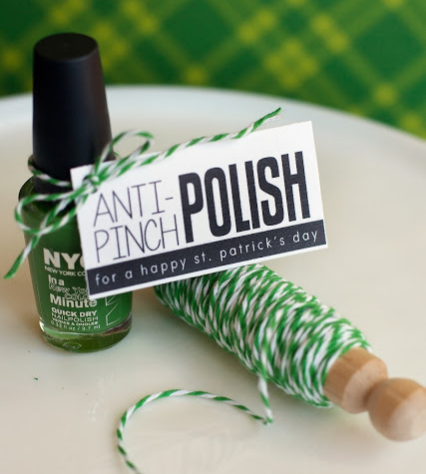
Anti Pinch Polish
Found this great gift Idea on Eighteen 25. A great and fun gift to give on St. Patricks Day. Just print out the tags and tie it with some...
Anti Pinch Polish
Found this great gift Idea on Eighteen 25. A great and fun gift to give on St. Patricks Day. Just print out the tags and tie it with some...
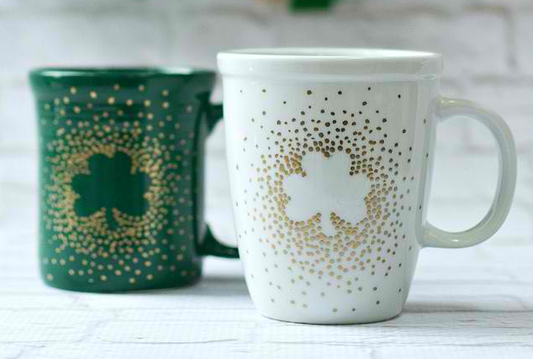
Irish Coffee Mugs
Found this on It All Started with Paint! Materials: Mugs (I found mine at the Salvation Army store) Gold Paint Pen Shamrock Stickers This was a really simple...
Irish Coffee Mugs
Found this on It All Started with Paint! Materials: Mugs (I found mine at the Salvation Army store) Gold Paint Pen Shamrock Stickers This was a really simple...
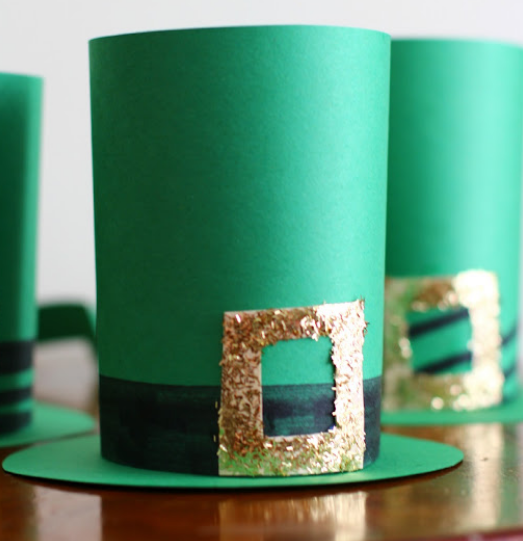
Craft Leprechaun Hats
Found this fun kids craft on Classic Play. Materials: Green Construction Paper School Glue (such as Elmer’s) A Glue Stick Gold Glitter Scissors A cereal bowl (to trace)...
Craft Leprechaun Hats
Found this fun kids craft on Classic Play. Materials: Green Construction Paper School Glue (such as Elmer’s) A Glue Stick Gold Glitter Scissors A cereal bowl (to trace)...
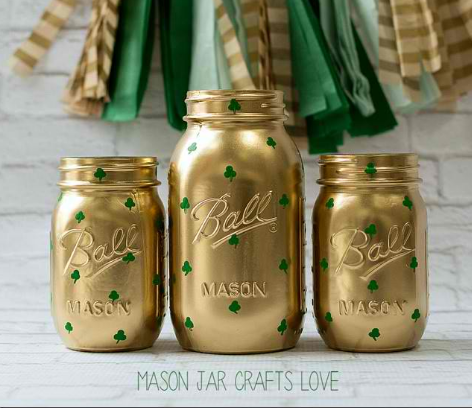
Shamrock Mason Jars
Found this great craft on Mason Jar Crafts Love. Materials: Pint Size Regular Mouth Mason Jars Quart Size Regular Mouth Mason Jars Gold Metallic Spray Paint...
Shamrock Mason Jars
Found this great craft on Mason Jar Crafts Love. Materials: Pint Size Regular Mouth Mason Jars Quart Size Regular Mouth Mason Jars Gold Metallic Spray Paint...