News

DIY - You Rule Valentine
Found this awesome Valentine idea on relocated living! If you are anything like me, you are always looking for the next nifty and interesting way to craft and celebrate...
DIY - You Rule Valentine
Found this awesome Valentine idea on relocated living! If you are anything like me, you are always looking for the next nifty and interesting way to craft and celebrate...
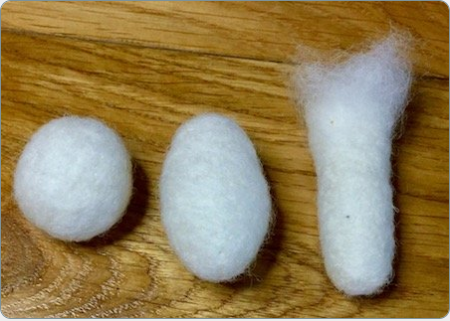
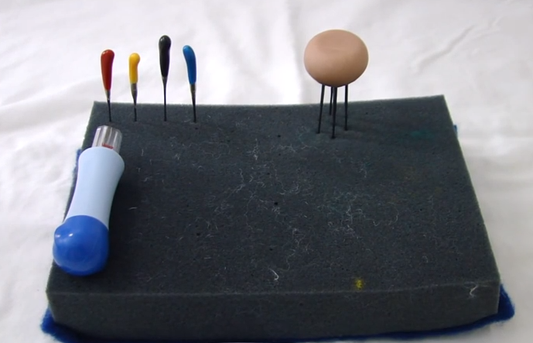
Needle Felting Tutorial - Basics
Found this on Needlework tips and techniques."With needle felting we cause the friction by stabbing the wool with a notched needle. This tangles the fibers together with no need for...
Needle Felting Tutorial - Basics
Found this on Needlework tips and techniques."With needle felting we cause the friction by stabbing the wool with a notched needle. This tangles the fibers together with no need for...
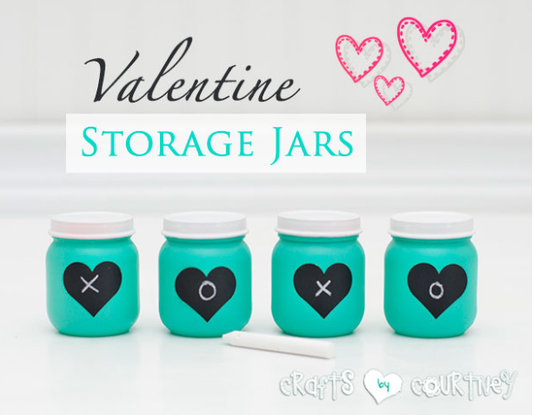
Valentine Storage Jars
Found this great craft on Crafts by Courtney Materials Needed: Spray Paint Baby Food Jars Chalkboard Heart Labels Step 1 - Spray Paint your Jars and LidsTake...
Valentine Storage Jars
Found this great craft on Crafts by Courtney Materials Needed: Spray Paint Baby Food Jars Chalkboard Heart Labels Step 1 - Spray Paint your Jars and LidsTake...
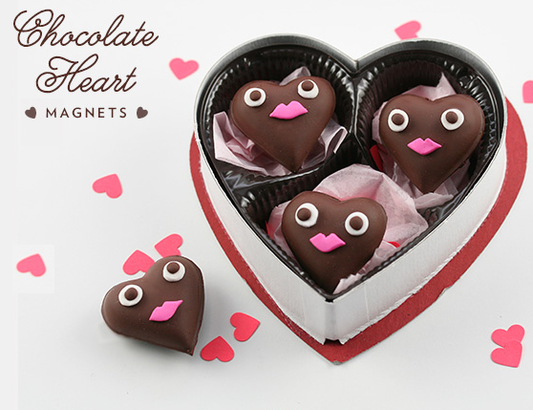
Valentine Chocolate Heart Magnets!
Found this fun Tutorial on Little White Whale. What you’ll need: Oven-bake polymer clay in brown, white, and pink a heart shaped candy mold X-Acto knife plastic straw small round magnets hot glue...
Valentine Chocolate Heart Magnets!
Found this fun Tutorial on Little White Whale. What you’ll need: Oven-bake polymer clay in brown, white, and pink a heart shaped candy mold X-Acto knife plastic straw small round magnets hot glue...
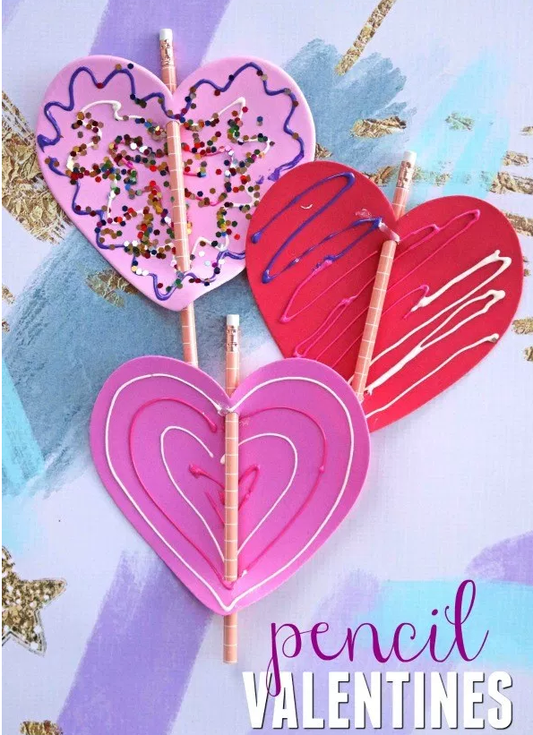
Heart Valentine Pencil Favor
Found this on Glued to my Crafts blog Every parent now has concerns in school about candy and chocolate, especially since there are so many allergies nowadays. So why not...
Heart Valentine Pencil Favor
Found this on Glued to my Crafts blog Every parent now has concerns in school about candy and chocolate, especially since there are so many allergies nowadays. So why not...
Needle Felting Basics - Tools
I found this on sanxcharms You Tube channel http://bit.ly/NFBTools Since Felting Kits are making their way to our site, I thought I would push a few videos and posts about...
Needle Felting Basics - Tools
I found this on sanxcharms You Tube channel http://bit.ly/NFBTools Since Felting Kits are making their way to our site, I thought I would push a few videos and posts about...